Blogging with Quarto and nbdev
Building a personal blog with nbdev and publishing it with Quarto.
Intro
nbdev is a powerful tool for creating python modules. It is based on writing code, documentation, and tests directly in an interactive Jupyter Notebook. This notebook-driven development has all of the tools needed to support a full, proper software library.
nbdev is inspired by two paradigms in the coding world:
- Literate Programming
- Exploratory Programming
Let’s go over these two ideas and why their combination is so powerful.
Literate Programming
The original idea was proposed by Donald Knuth in 1984. In Literate Programming, notes and tests are woven directly into a project’s source code. Each piece is crucial to the overall approach and makes for better, more readable code. The code, documentation, and tests are all first-class citizens in Literate Programming. This is very different from the usual software approach where tests and documentation live in a separate set of files.
In nbdev, a Jupyter Notebook is the single source of truth for code, documentation, and tests. Instead of managing three independent groups of files, everything is defined and happens in the Notebook. If the Notebook runs, then you know your code will run.
So, why is this helpful? A fun analogy might help: Notebooks are the modern, digital version of field journals. The inspirational samples below from this Wired article show what science, at its best, can be:
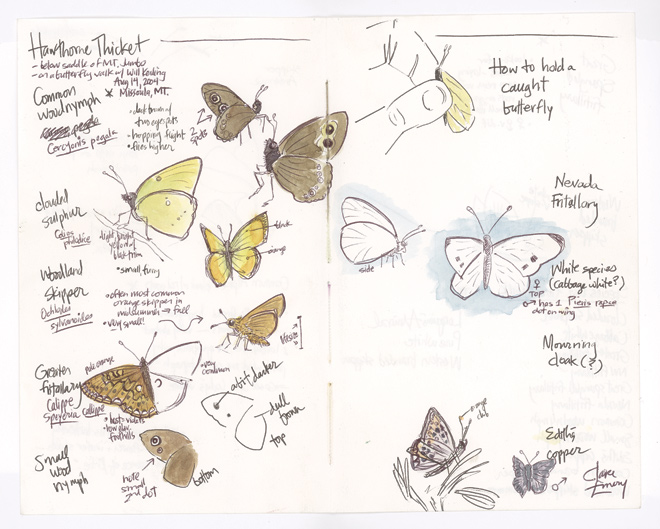
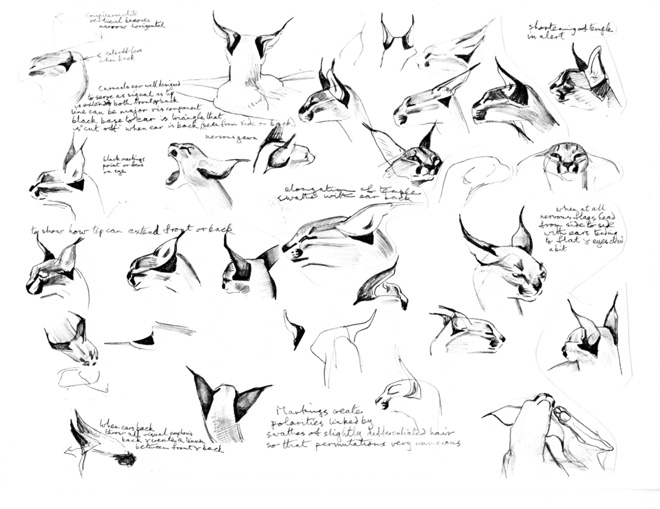
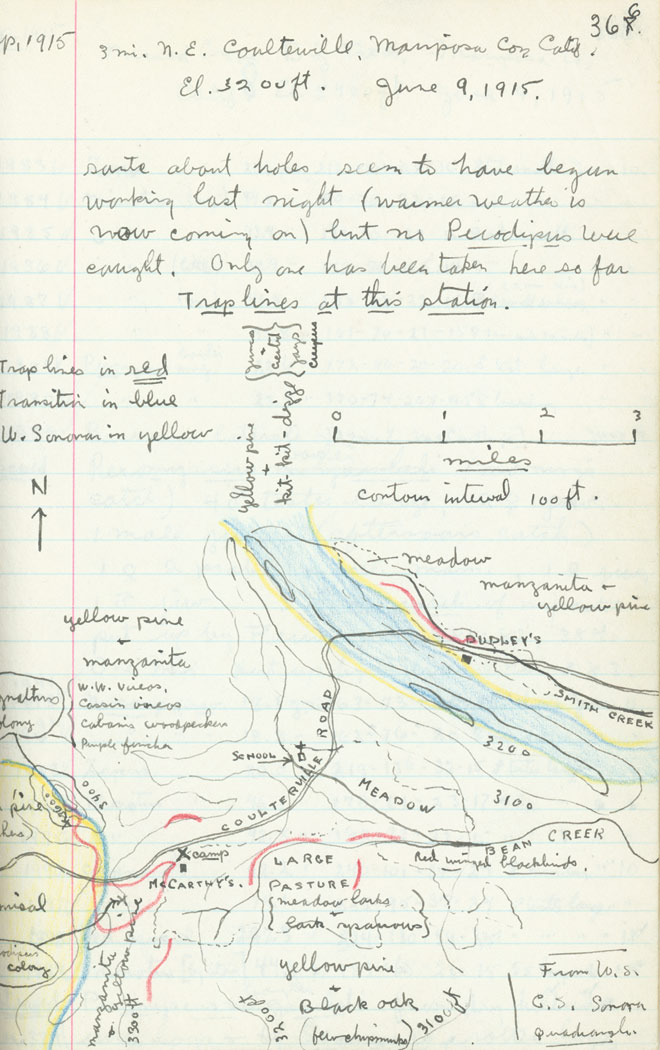
Let’s focus on the last example: the field notes about a lynx. Notice that we’re not reading a long description of what a Lynx is supposed to look like. And we’re not looking at a series of pictures with no context either. We’re getting the best of both worlds: short and relevant descriptions right next to clear, working examples. Field notes bridge the gap between the written, theoretical and the actual, practical.
Notebooks can do for code what the field notes above did for the lynx. We can interactively show people the data, describe what’s being done, and make sure that the results are correct. We can even show any mistakes and struggles along the way. This tight loop between what you’re doing (code), describing what you’re doing (documentation), and making sure it’s correct (tests) is a great way to approach research. More than that, it is an incredibly powerful way to communicate and share ideas.
Exploratory Programming
Exploratory Programming is an open-ended approach for tackling new problems and unknown domains. It’s very useful at the start of a project when details are still being finalized. And it can also bring out different angles to a known, established approach by showing it under a new light.
Notebooks are both dynamic and interactive which makes them perfect for Exploratory Programming. They make the barrier for trying new things extremely low. And they’re downright fun!
The video below is an incredible talk by Bret Victor about the power of Exploratory Programming, with stunning examples throughout to drive the point home:
Combining Literate and Exploratory Programming
nbdev combines these two ideas in its workflow. We can interactively learn about and explore how something works. Iterations are fast and cheap so it’s easy to follow any hit of curiosity. And we can now develop and test code in a much more dynamic way than usual.
These ideas can be doled out on the fly. For example, at the start of a project we could lean Exploratory to map out the problem space. Then, as the idea matures, we can pivot to Literate to refine and crystallize our approach.
And if anything breaks, we can always restart the Notebook and try again.
Next let’s look at how nbdev can turn Notebooks into blog posts.
Turning Notebooks into Blog Posts
First, a high-level look at the steps to create and publish a blog:
High-Level Steps
1. Make a new nbdev project.
2. Create a blog inside the project.
3. Host the blog on Github Pages.
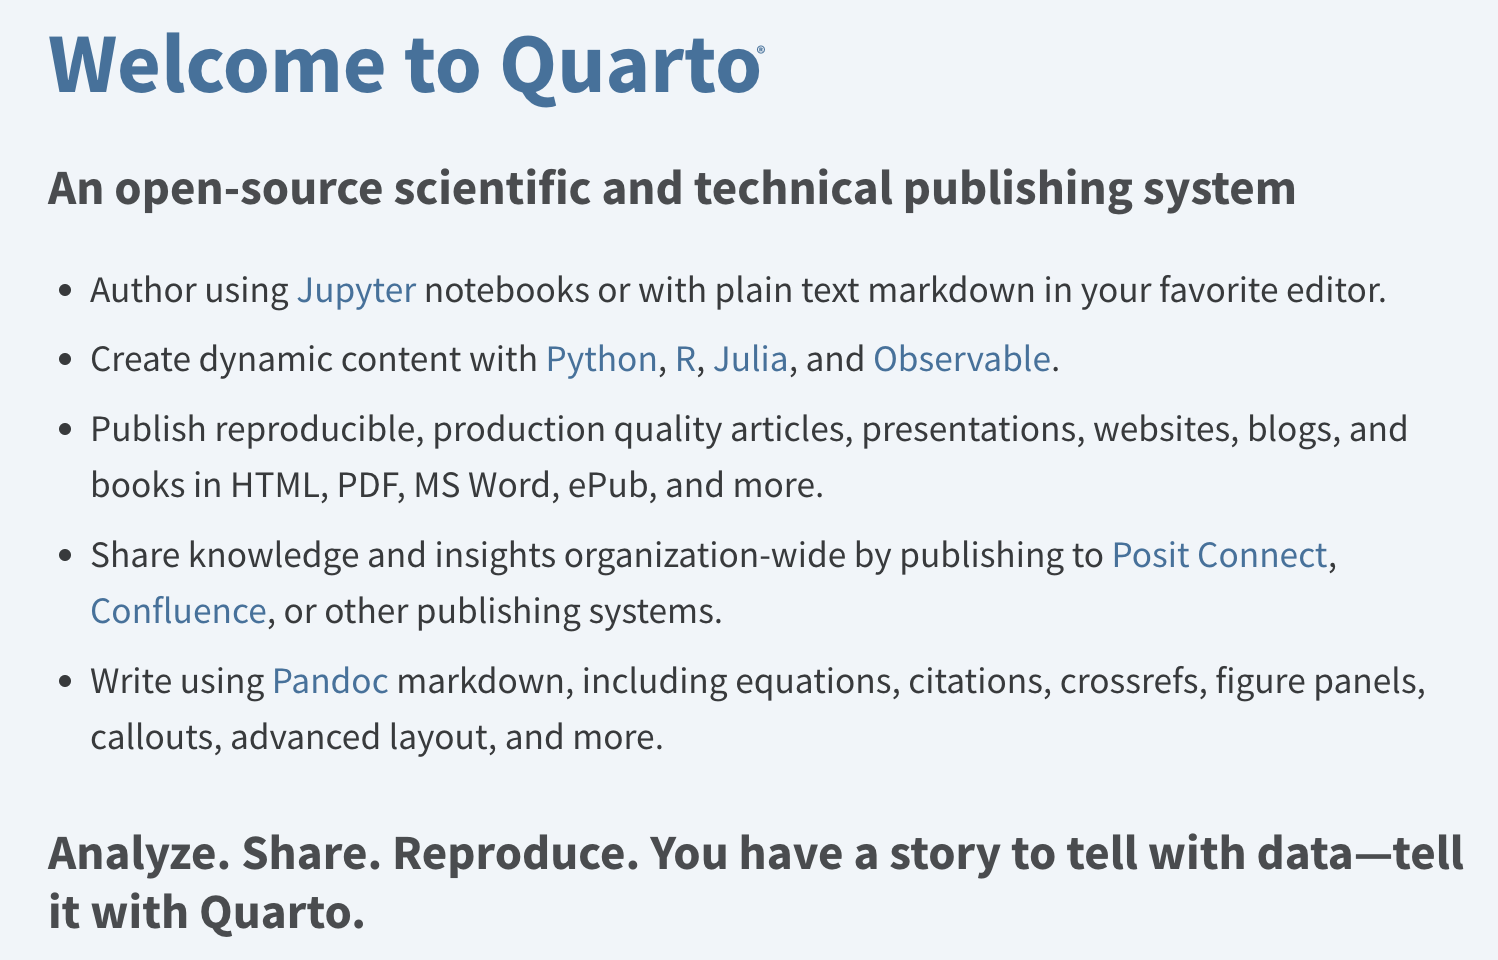
nbdev uses the Quarto framework to publish blogs. Quarto is tailored for writing beautiful articles on technical or scientific topics. In a way it’s a blogging platform for Literate Programming, where a series of code and comments take the reader on a journey.
Creating a new nbdev project
nbdev works on top of a Git repo. That means our first step is creating a new, empty repository. Here is a handy Github link that takes us straight to the page for creating new repos.
Note: We need a completely empty repo. Don’t include a
.gitignoreorREADME.md.
In this example the empty repo is called sample_blog, but feel free to call it anything you’d like. We’re not tied to this name. We can always make new repos with different, better names.
Clone the new, empty repo to your computer. Make sure to change the github link below so it points to your repo instead.
# clone the repo to your computer
git clone https://github.com/enzokro/sample_blog.git # <-- ! link with your repo here
Now we can move into this repo and let nbdev work its initialization magic. Run the nbdev_new command to get started. The command will prompt you for some general info, like a short description about the project.
# move into the new repo and initialize the nbdev project
cd sample_blog/
nbdev_new
Note: All of the options and configs for the project are in the
settings.inifile.nbdevlooks in this file when it needs any information for its commands.
After nbdev_new finishes, we will have a brand new nbdev project!
Run a git status command to see everything that was added. Then we commit and push these changes to Github.
# add, commit, and push the files created by nbdev
git add .
git commit -m'Initial nbdev project creation'
git push
As mentioned earlier, nbdev publishes notebooks using Quarto. Let’s now take a look at how to turn this project into a full Quarto blog.
Adding Quarto to the Mix
Start by activating the virtual environment from the previous Environment Setup Notebook:
# activate the environment
mamba activate llm_base
nbdev comes with a built-in command to install quarto: nbdev_install_quarto. Note that the command will ask for admin privileges.
# install quarto
nbdev_install_quarto
You may need to refresh the terminal before it can see the newly installed quarto binary. To be safe, open up a new terminal and re-activate the environment. Then the command below will check if Quarto was installed successfully.
# shows us where quarto was installed
which quarto
Now that Quarto is installed, let’s turn our fresh nbdev project into an actual blog.
Turn an nbdev project into a Quarto blog
In an nbdev project the Notebooks usually live inside the nbs/ folder. These Notebooks eventually become a project’s code source, tests, and documentation.
For Quarto to instead publish Notebooks as blog posts, we need to add a few files and folders to the nbs/ folder.
Below is the structure for a nbs/ folder that’s been primed for its blog post.
Initial Structure for Quarto Blog:
sample_blog
└───nbs/
│   │   _quarto.yml
│   │   index.ipynb
│   └───blog/
│       │   index.qmd
│       └───posts/
│           └───2023-09-27-Blog-Intro/
│               │   index.ipynb
The main change is adding a blog/ folder inside of the nbs/ directory. Inside, at its top level, we place an index.qmd file that tells Quarto about our blog. Here’s example index.qmd file that titles our blog and describes how posts will be listed:
---
title: Example Blog
subtitle: Publishing with Quarto and nbdev
listing:
  sort: "date desc"
  contents: "posts"
  sort-ui: false
  filter-ui: false
  categories: true
  feed: true
page-layout: full
---
To stay better organized, each post will get its in folder. An index.ipynb Notebook inside each folder will have the post’s actual content. We can also put photos, videos, or any other assets to enhance a post into this folder.
As a working example, we are going a bit meta and using this Notebook itself as index.ipynb in the folder called 2023-09-27-Blog-Intro/.
In other words this Notebook will also be our first blog post.
Hosting the Blog on Github Pages
The site will be hosted on Github’s Pages platform. This is a built-in feature offered by Github and we can leverage it by changing a few settings. The screenshot below shows the to configure the repo so it can be published as a blog.
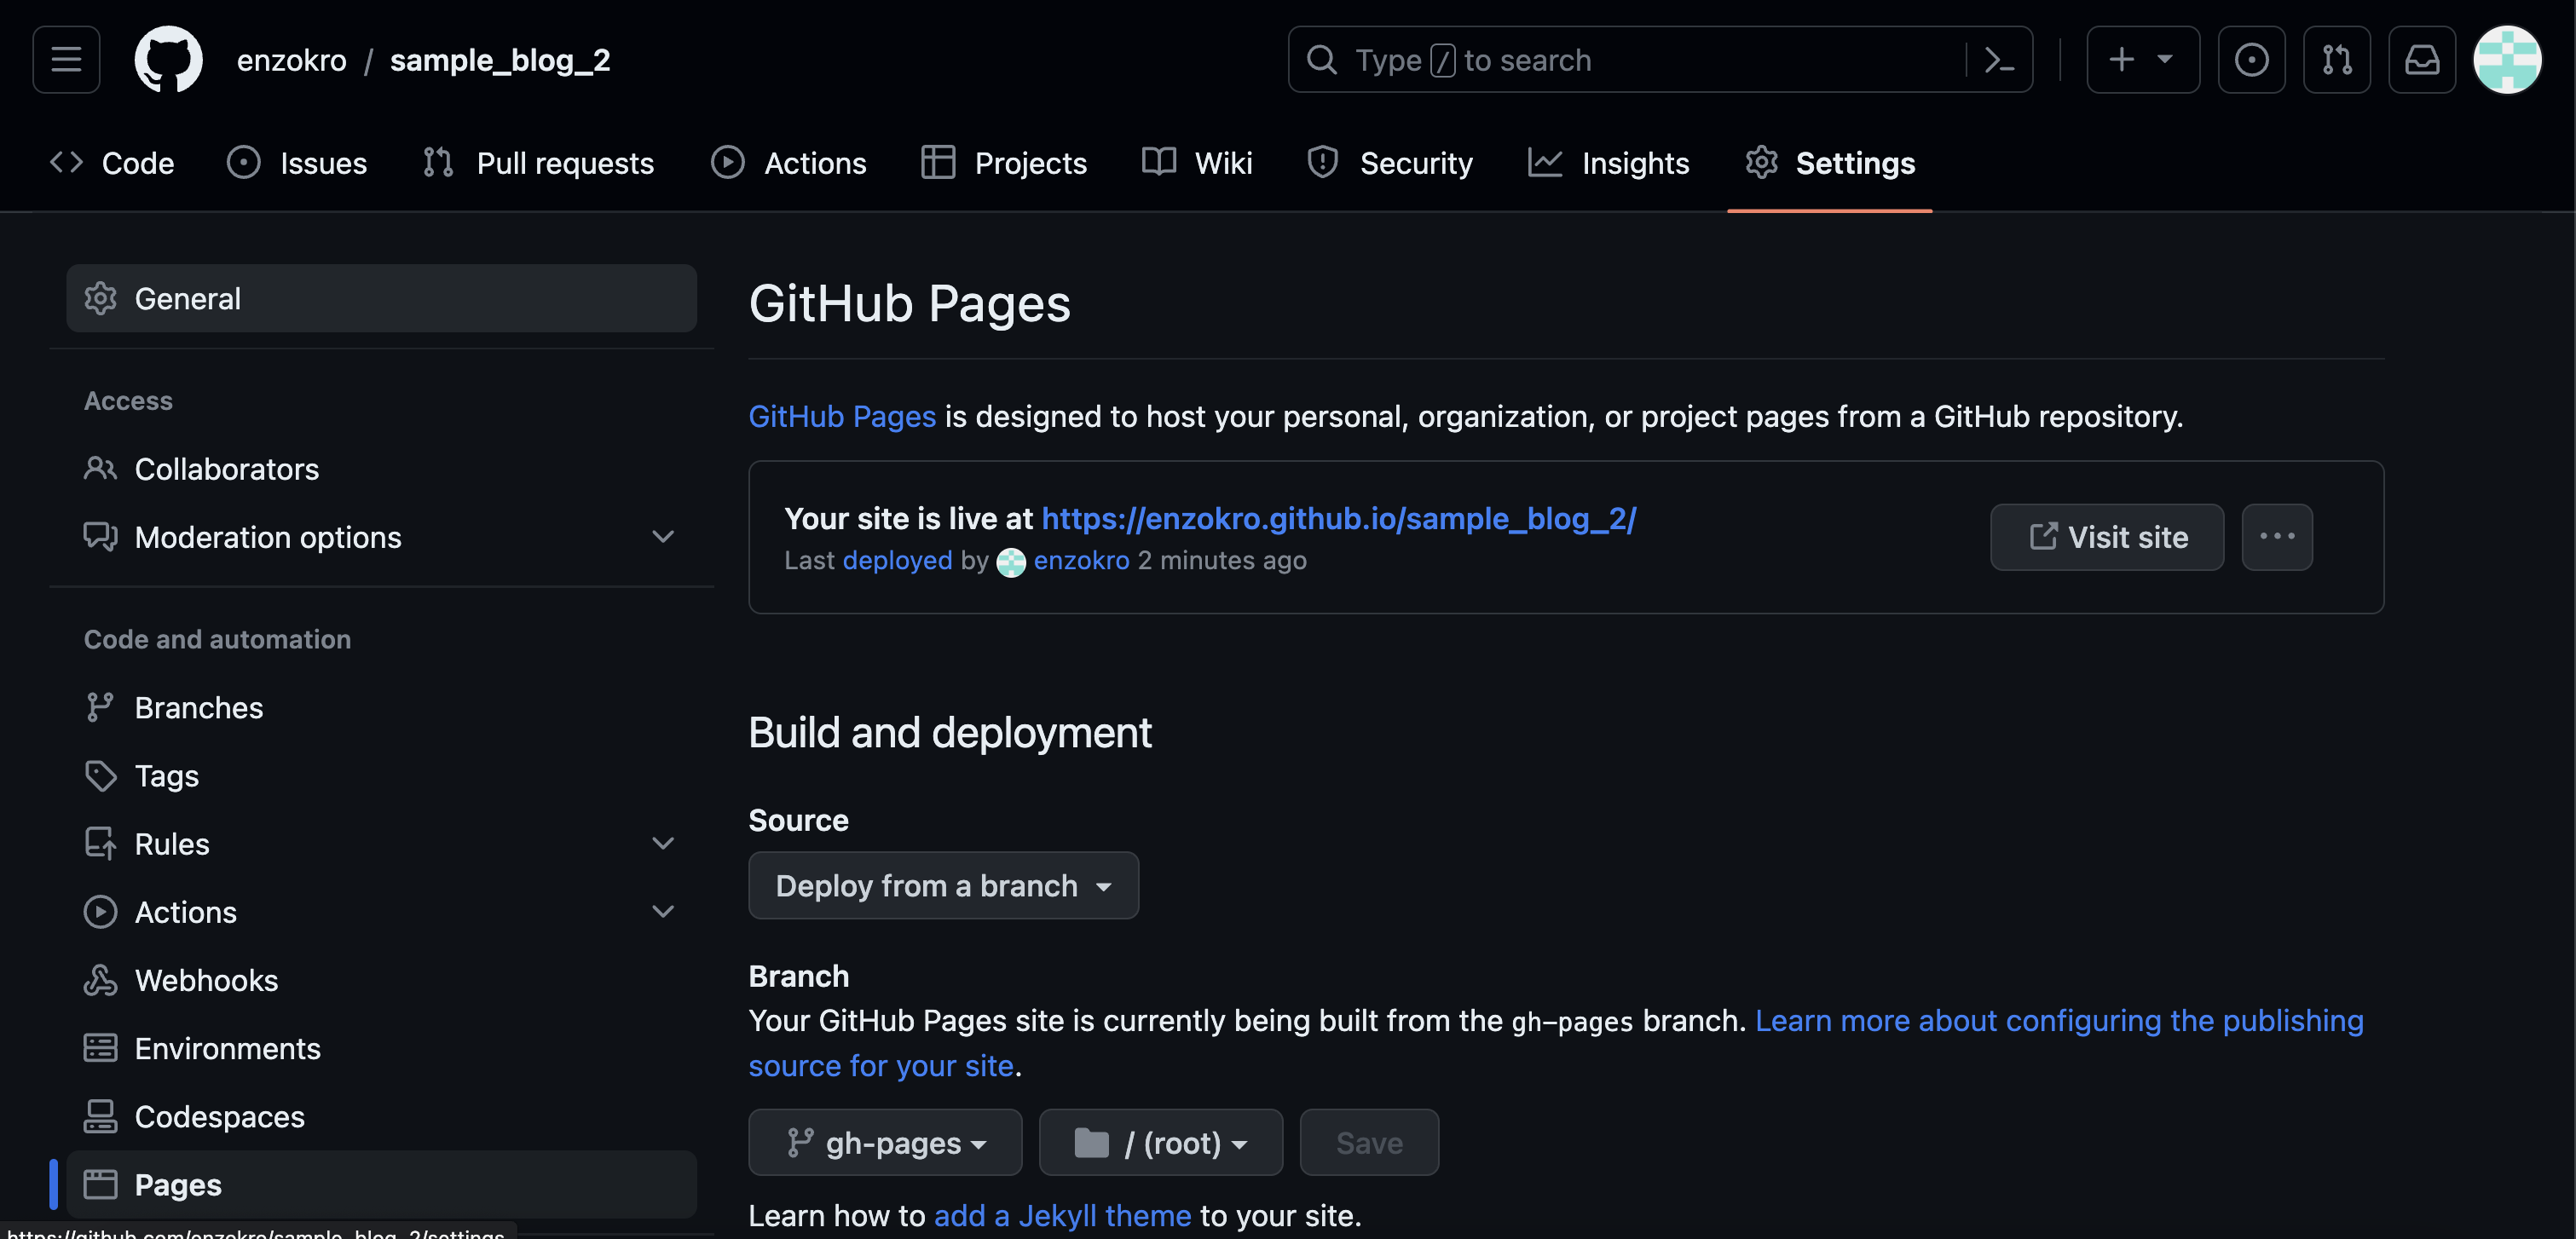
Specifically, we need to set the Deploy from a branch option under the Build and deployment section. Then, we pick the gh-pages branch as the branch to deploy from. gh-pages is a special branch where nbdev parses our Notebooks into a proper Quarto website.
Next, run the quarto publish command to build and publish the blog.
# publish the blog on github pages
quarto publish
And there we go! We created and published our first blog post using nbdev. Click here for a live link to this Notebook as a blog post.
Conclusion
This Notebook covered how to create and publish a blog. We used nbdev to build the blog and Quarto to publish it. We also showed how the mix of Literate and Exploratory Programming is a powerful approach to both research and thinking in general.